Tools you will need
- Getting to the UB network (account set up)
- Open On Demand
- SEAGrid
- Python, Jupyter, Matplotlib
- Libra and other Python libraries
- Terminal
- Text editors
- About our software installs
- Molecular visualization and editing tools
1. Setting up your UB CCR account and getting access to the UB CCR supercomputer and infrastructure
Below are the steps you’ll need to take in order to connect to our resources:
1.1. Step 1.
In order to connect to our machines, you have to be on the UB network.
You’ll need to download and install UB’s Cisco VPN client. You can download the client software from here: For Windows, For MacOS
You MUST use the Cisco AnyConnect client with this account, please ignore any information about the FortiClient VPN software.
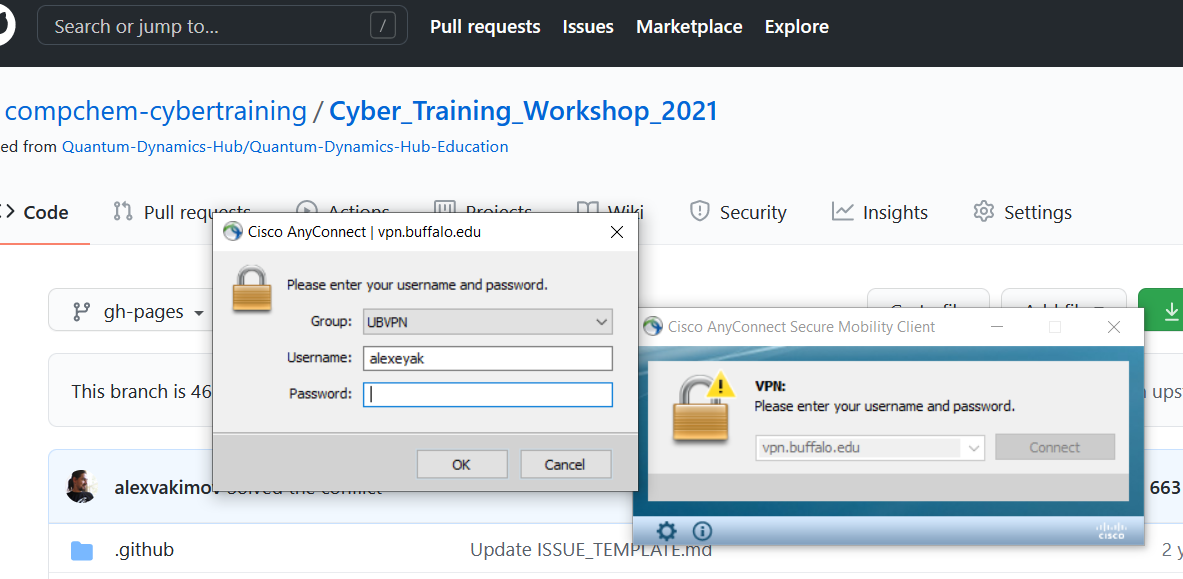
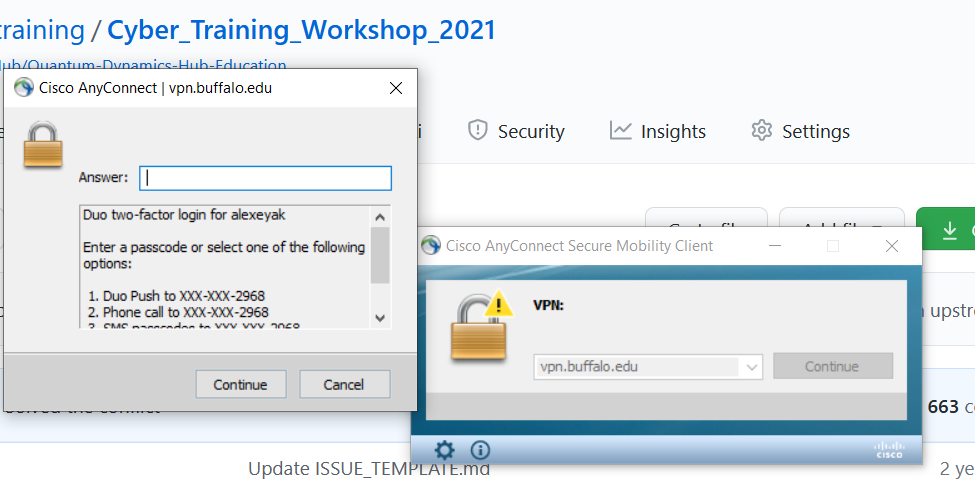
Note that you may need to use a secondary device (e.g. your cell phone with the Duo Mobile) to authenticate
The login information to download and connect to the UB VPN client will be given to you over emain, when your are accepted
NOTE: When you start the Cisco software the first time you will need to enter the following in the “Connect to:” box: vpn.buffalo.edu and then select UBVPN from the group drop down menu.
1.2. Step 2 (one time only).
You will receive a separate email containing a link to our user portal to setup your account and change your password.
You will need to already be connected to the UB VPN to get this site and to access the one-time link.
The link contained in this email only lasts for 24 hours so if you’re not able to get this done before it expires, you can go to: https://idm.ccr.buffalo.edu and click the “forgot your password?” link to generate a new one. Your CCR username is the same as the one you’re using for the VPN (given to you in the email), but these accounts are not connected in any other way.
1.3. Step 3.
Once connected to the UB network, you may login to our front end login machines using a SSH client (server name: vortex.ccr.buffalo.edu)
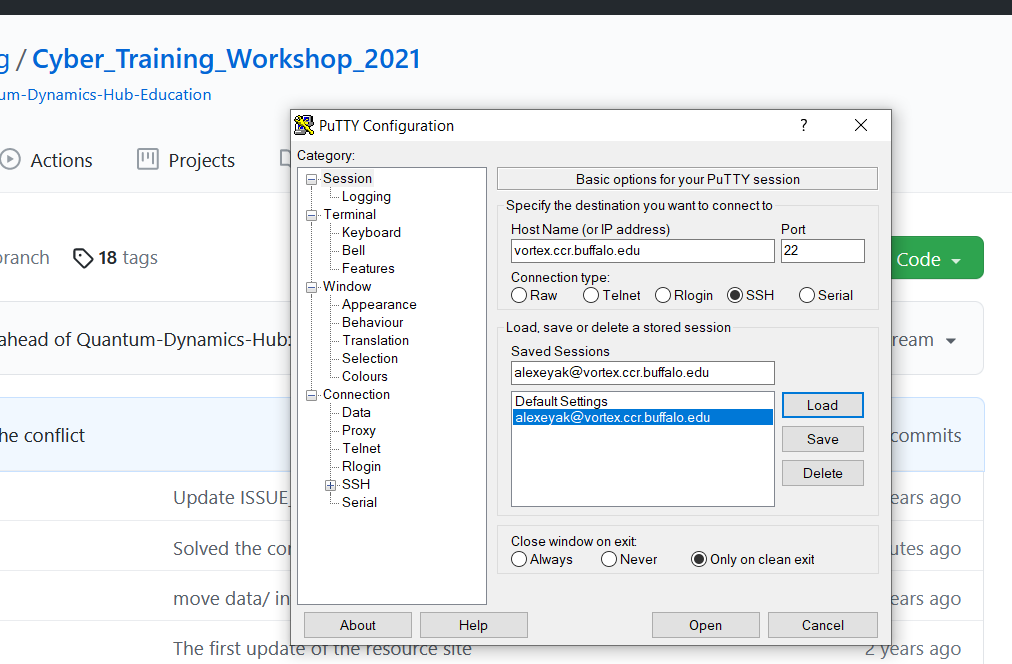
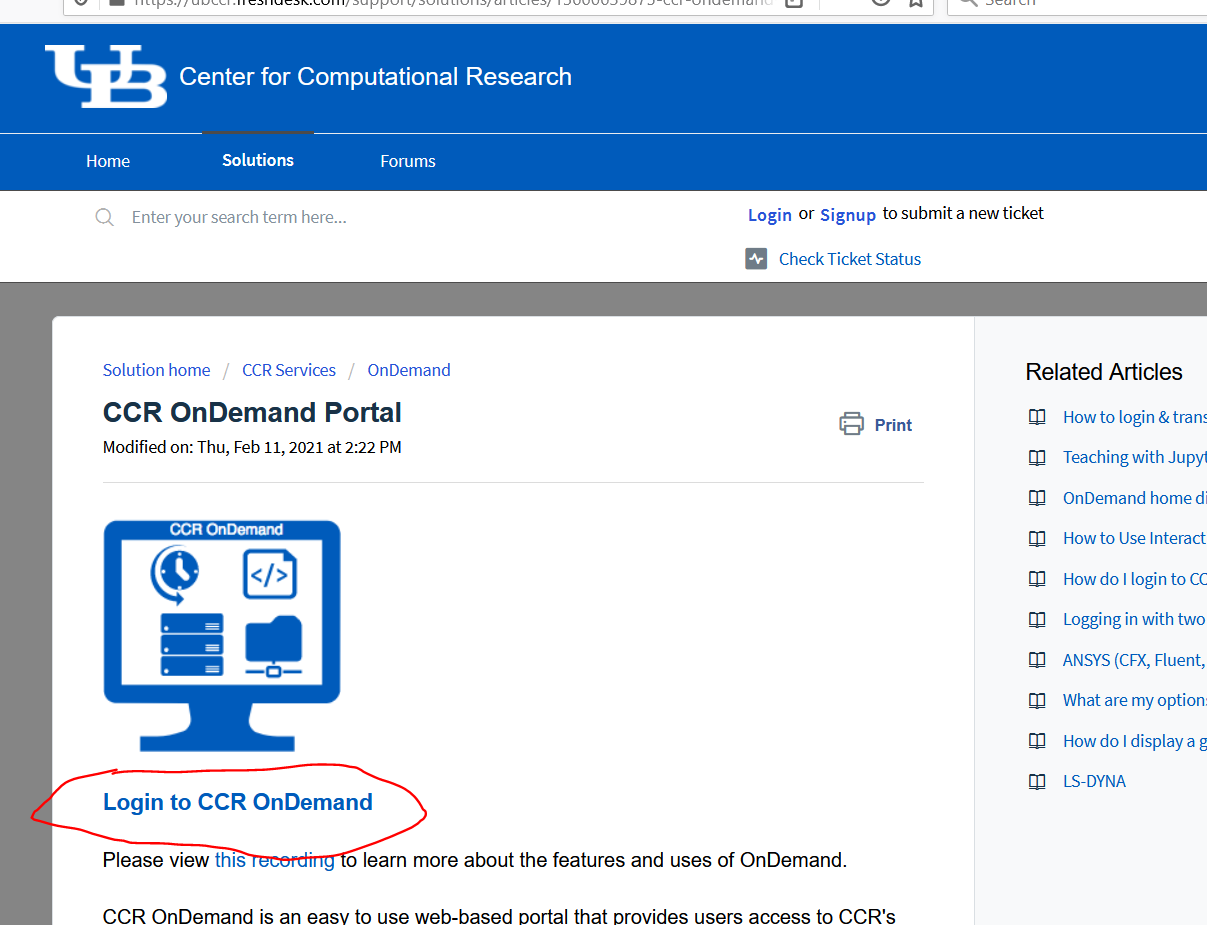
or using the OnDemand web portal
General instructions for how to use our systems can be found in our searchable knowledgebase However, you will be provided with more information on this topic during the workshop.
If you have any problems with these accounta, please submit a ticket to ccr-help@buffalo.edu
2. Open OnDemand web portal
Although you can use terminal (via any of the clients such as Putty or XShell ) for submitting jobs on the HPC, this workshop will utilize Jupyter notebooks with some of the packages we will be covering installed into Jupyter kernel. This is meant to improve your experience with various codes and projects during the workshop.
Although you can set up such kernels on your local machines, to use them on the UB CCR HPC system, you need to use OnDemand portal.
The OnDemand portal allow you to run Jupyter notebooks or other calculations on the UB CCR cluster right from your browser. This includes the capability to use various Python libraries installed into that kernel, and even execute some of the pre-installed software packages (e.g. ErgoSCF) right from the Jupyter notebooks.
The OnDemand gateway is equipped with a variety of tools for file transfer/editing, as well as the terminal, which you can use to submit SLURM jobs to the cluster.

3. SEAGrid
It is a research computing gateway developed and hosted at the Indiana University. It is equipped with a range of computational packages (some are directly related to this workshop, others are deployed there for other reasons). You can use SEAGrid to submit computations to various resources (including UB CCR, XSEDE, etc.). You can submit the calculations to the UB CCR HPC system even without having UB credentials, but you need to added to the corresponding user group. Also, note that not all packages available on SEAGrid can be run on UB resources. All of this is done directly via the web broweser.
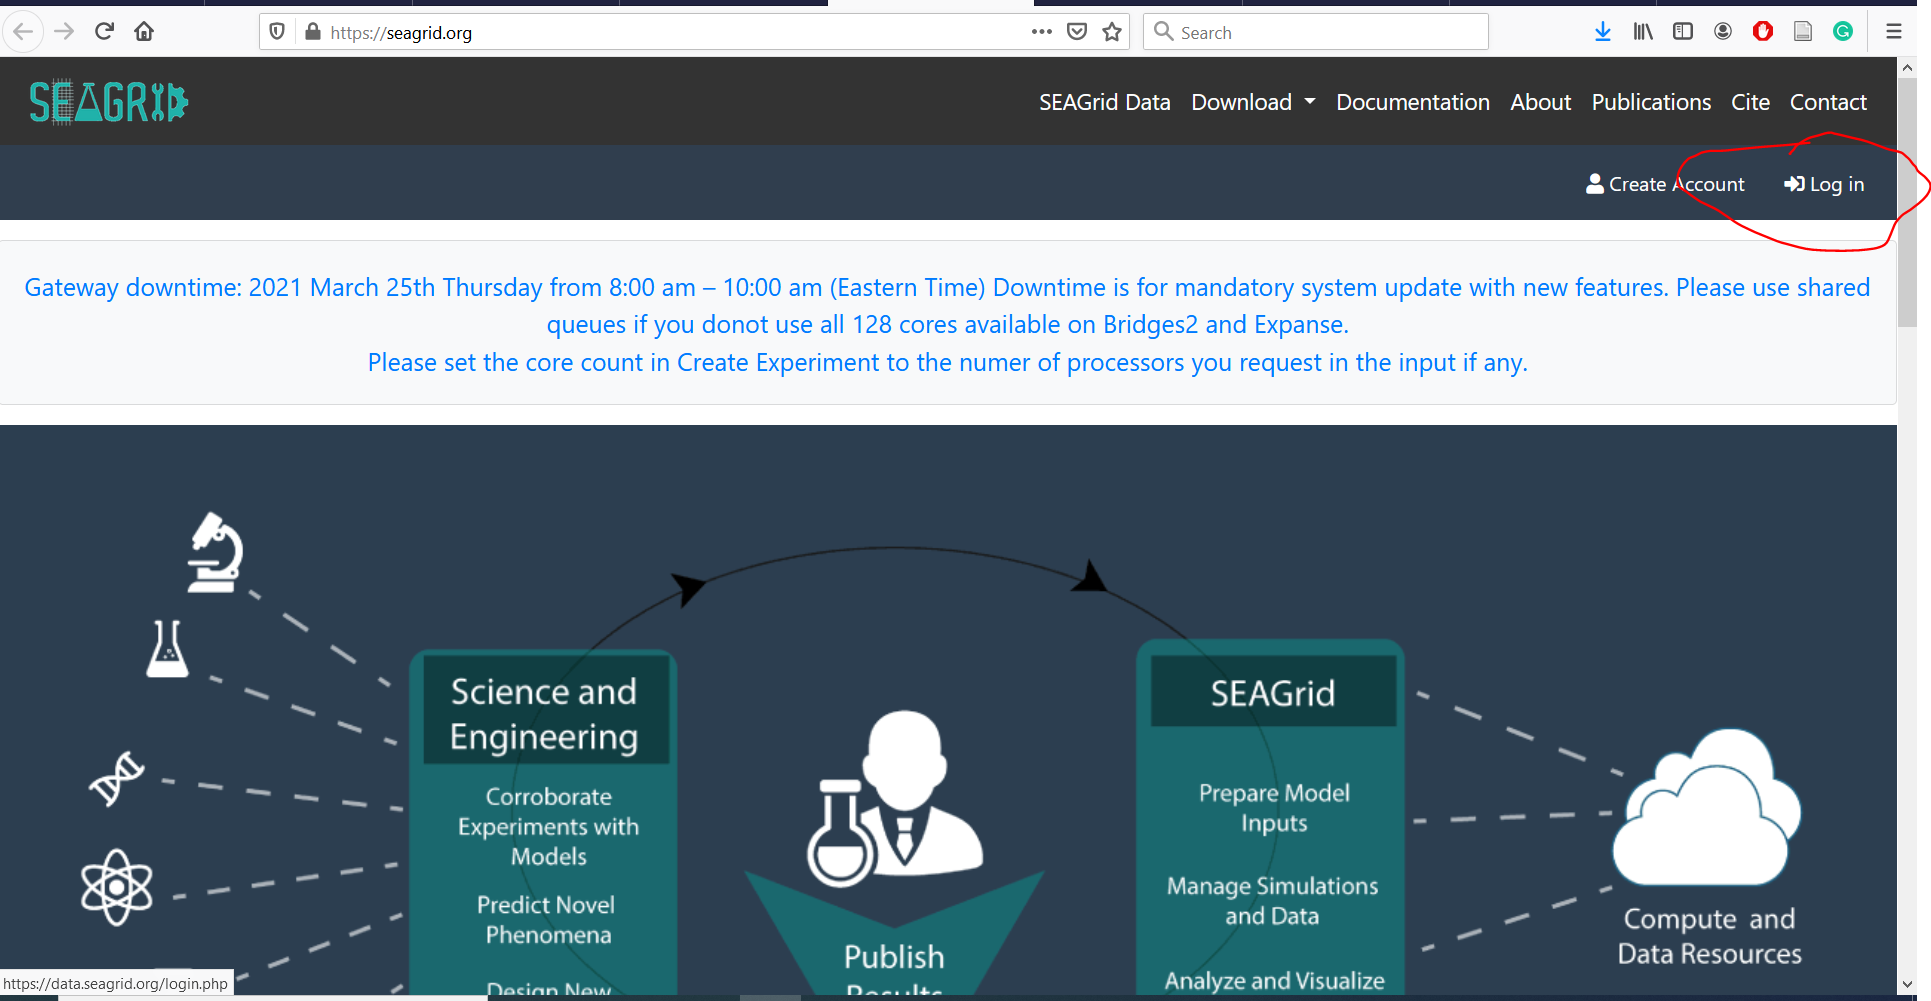
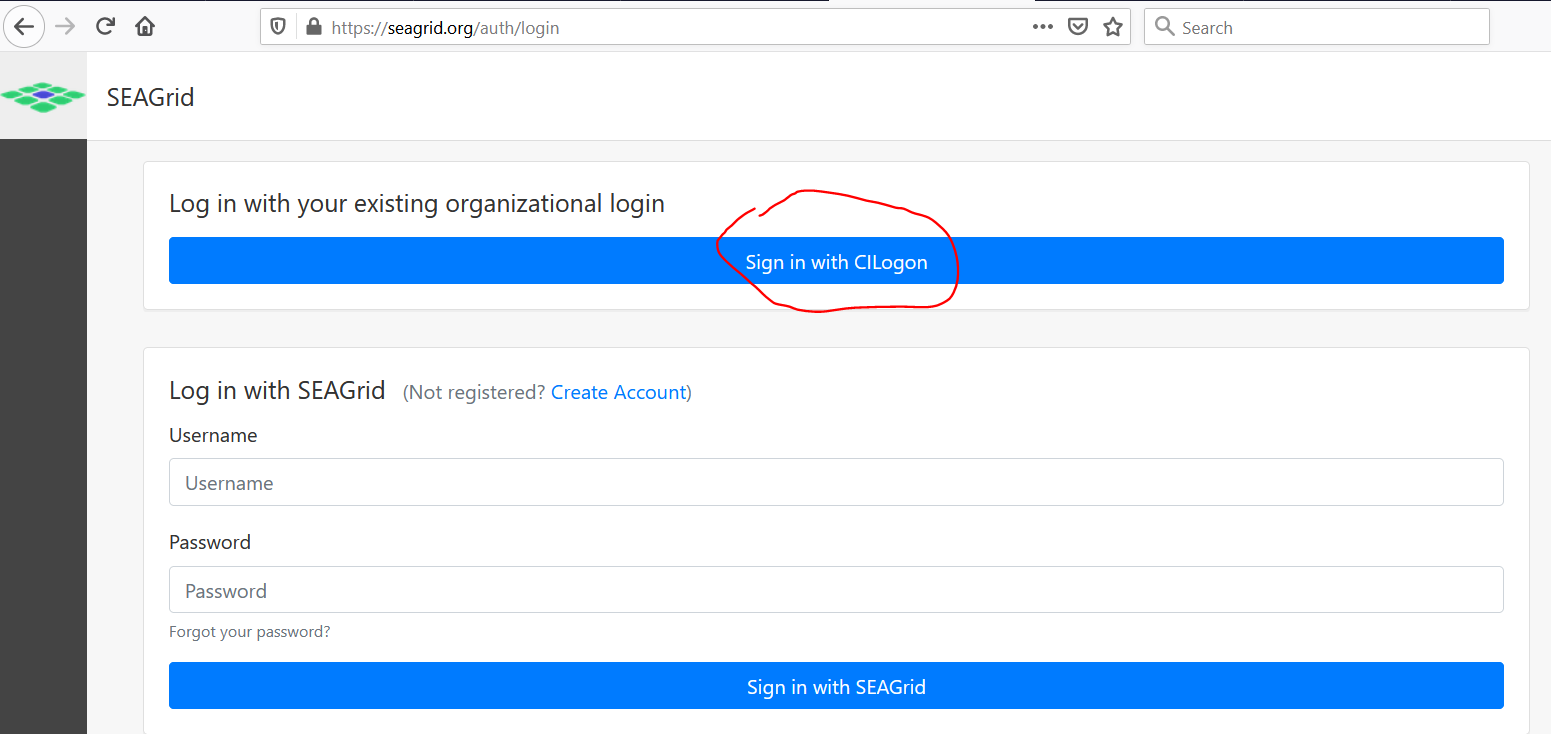
To get started, just you go to “Log In” link on the portal. You may need to create an account. However, you may be able to login into the system using “CILogon” option. As long as you belong to one of the organizations recognized by the gateway (e.g. most of the universities in the US), you may be able to use your organization credentials to enter the system.
4. Python & Jupyter & Matplotlib
Python is a popular language for scientific computing, and great for general-purpose programming as well. Installing all of its scientific packages individually can be a bit difficult, however, so we recommend the all-in-one installer Anaconda. Regardless of how you choose to install it, please make sure you install Python version 3.x (e.g., 3.4 is fine, 2.7 is not).
If you aren’t very comfortable with Python yet, this resource could be a good starting point.
Jupyter is an tool to enble interactive experience with Python and any other packages that can be called via Python
Matplotlib is a plotting library than can be called by Python. When integrated into Jupyter notebooks, it allows you to plot your results on the go - as soon as you obtain it. Please check the official Matplotlib site for a great collection of examples
Here is a link of more specific topics on Jupyter
- How to run Jupyter: link
- How to plot 2D and 3D figures: link
- A gallery of interesting Jupyter examples: link
5. Libra and other Python libraries
This workshop will involve experience with Python-based software and packages. One that will be used extensively throughut the event is the Libra package developed by the Akimov group.
Although Libra and some of its strong and weak dependencies are already installed on UB CCR and will be directly accessible via the Jupyter notebooks on OnDemand, you may want/need to install them locally. Since most of the calculations we’ll be doing are not too intensive computationally, runnig most of them on your laptop shall not be a problem.
You may want to use this option, if you want to follow the hands-on exercises with Libra, but you have not been accepted as a fully-fledged participant (the participant without full access to UB CCR resources, which may be because of your geographic location at the moment).
Please follow the installation instructions to build the corresponding environment, install all needed dependencies and packages, and build and install the Libra code itself. Make sure to use the “devel” branch.
6. Terminal
The terminal is an interface in which you can type and execute text based commands. It is important to use the terminal to run many computational chemistry software packages. There are several different types of terminal interfaces, called shells. In this tutorial, we will focus on using one of the most common shells, the bash shell. How you acquire a bash shell terminal depends on the type of computer you have.
6.1. Linux
If you are using a Linux computer, you probably already know how to open the terminal window. If the Terminal is not shown in menu of programs, you can use the key combination CTRL + ATL + T to open the terminal window.
6.2. Mac OS X
On Mac OS X, a Terimanl application is built into your system. Open the Terminal from Applications -> Utilities -> Terminal.
6.3. Windows 10
Windows has a built in command line interface. To access it, click the Windows Key + R, type cmd, press Enter. However, this interface is not a bash application. Therefore, the commands for navigating and creating files discussed below will not be the same. We recommend you installing the Windows Subsystem for Linux instead. Please follow these instructions to install it for your system. This will allow you having a fully-fledged Linux/Unix terminal experience while still working on Windows 10.
6.4. Resources
- Using the command line
- Navigation in bash
- Making and removing directories, copying and deleting files
7. Text Editors
You will often need to create or read text files. Opening a text file in a word processing program, like Microsoft Word or Google Docs, introduces a lot of formatting that is not needed. You need to use a text editor to read and write these files. There are many choices. You don’t need to learn to use all of these at the beginning, just find one that works for you.
7.1. Vi/vim
Vi/vim is one of the most ubiquitous text editors. It is installed on virtually every Linux computer in the world, so if you ever log on to a unfamiliar machine, it will be available to you. Vi is accessed from the command line; it doesn’t have or need a graphical interface so it can operate on the most bare bones computers. However, it is not intuitive to use and can be difficult for beginners.
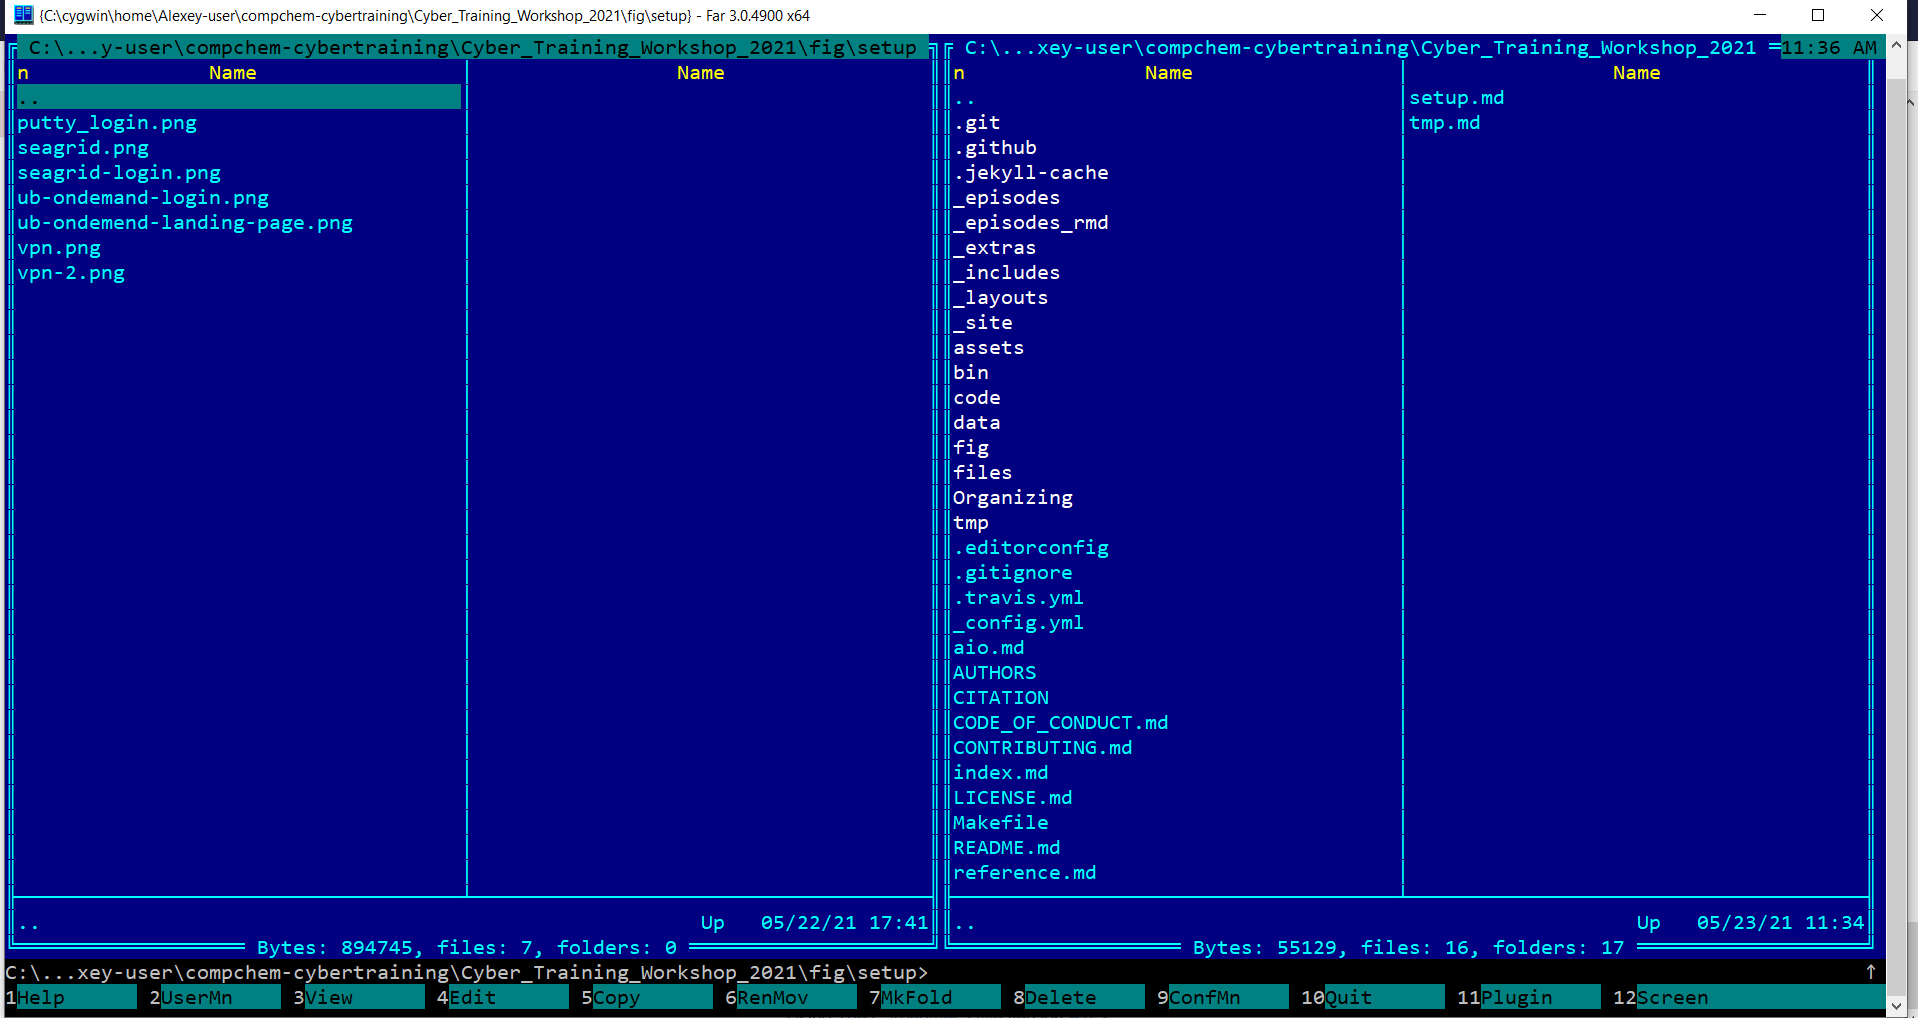
7.2. Far 3
Far3 is a very handy file and archive manager. Features rather convenient graphical interface and some convenient manipulation options such as cutting any blocks of text, syntax highlightling, remote drive access, etc. Don’t get scared by its old-style “Norton/Midnight Commander” look. You’ll love it. If you run Windows, this is definitely our recommendation.
7.3. Atom
Atom is a modern text editor that is very intuitive to use. You probably don’t even need to read the tutorial below to figure out how to create and save files. Standard downloads are available for Linux, Mac, and Windows.
7.4. Emacs
Similar to vi/vim, emacs is a command line text editor that is already part of almost all Linux distributions. Emacs can also be used as an RSS reader or file manager.
- Emacs tutorial The section called Beginner tips near the bottom of the page is particularly helpful.
7.5. Sublime
Sublime is an intuitive text editor that makes looking at files with multiple sections easy. t allows split screen editing and is very customizable.
8. About our software installs
This section describes the setup performed for the Libra installation, conda environments, and the libra-plus and qmflows Jupyter Notebooks kernels at CCR.
8.1. Compiled codes
The following codes have been installed on CCR computing resources in support of this project:
- columbus
- cp2k
- dftb+
- dynemol
- eQE
- ergoSCF (serial and MPI)
- LAMMPS
- MOPAC
- Newton-X
- Q-Chem
- Quantum Espresso 6.2.1
- QXMD
8.2. Compilers
The following compilers were used for all codes listed above, as appropriate:
- MKL 2020.2
- INTEL 18.3
- openmpi 3.0.3/gcc 7.3.0
8.3. Computing resources
Codes listed above were compiled specifically for CCR’s faculty cluster valhalla partition.
Node specs (two kinds) are as follows:
CPU-E5-2620v3:
- CPUs 12
- INTEL
- Memory 128000 (MB)
CPU-E5-2650v4:
- CPUs 24
- INTEL
- Memory 256000 (MB)
8.4. Scripts
The scripts listed here are provided for consultation in data/libra-setup/
You may need to remove details on specific versions, if things do not work. Conda should be able to find the suitable versions, if you don’t force it to pick very specific ones.
8.4.1. libra_env_recipe.sh
Installation procedure for libra prerequisites and conda environment. Refer to libra documentation for further information.
8.4.2. qmflows_env_recipe.sh
Installation procedure for the qmflows conda environment.
8.4.3. prepend_and_launch.sh
These scripts are called upon launch of the Jupyter libra-plus and qmflows kernels. They set LD_LIBRARY_PATH, PATH, and various environment variables to enable Libra to be used with various compiled codes on the compute cluster.
The prepend_and_launch.sh scripts should be placed in the kernel directory for the respective kernel, and specified in the arguments of the appropriate kernel.json so it will be called.
8.4.4. kernel.json
Example kernel.json for Libra, showing specification of launch script.
8.5. Conda environment exports
These conda environment exports (.yml) fully describe the packages installed for the following environments:
- libra-plus
- qmflows
These yml files can be used to entirely recreate the specified conda environment, using the command:
conda env create -f <environment>.yml
Refer to Conda documentation for further information about conda environments.
9. Molecular visualization and editing tools
| VESTA | 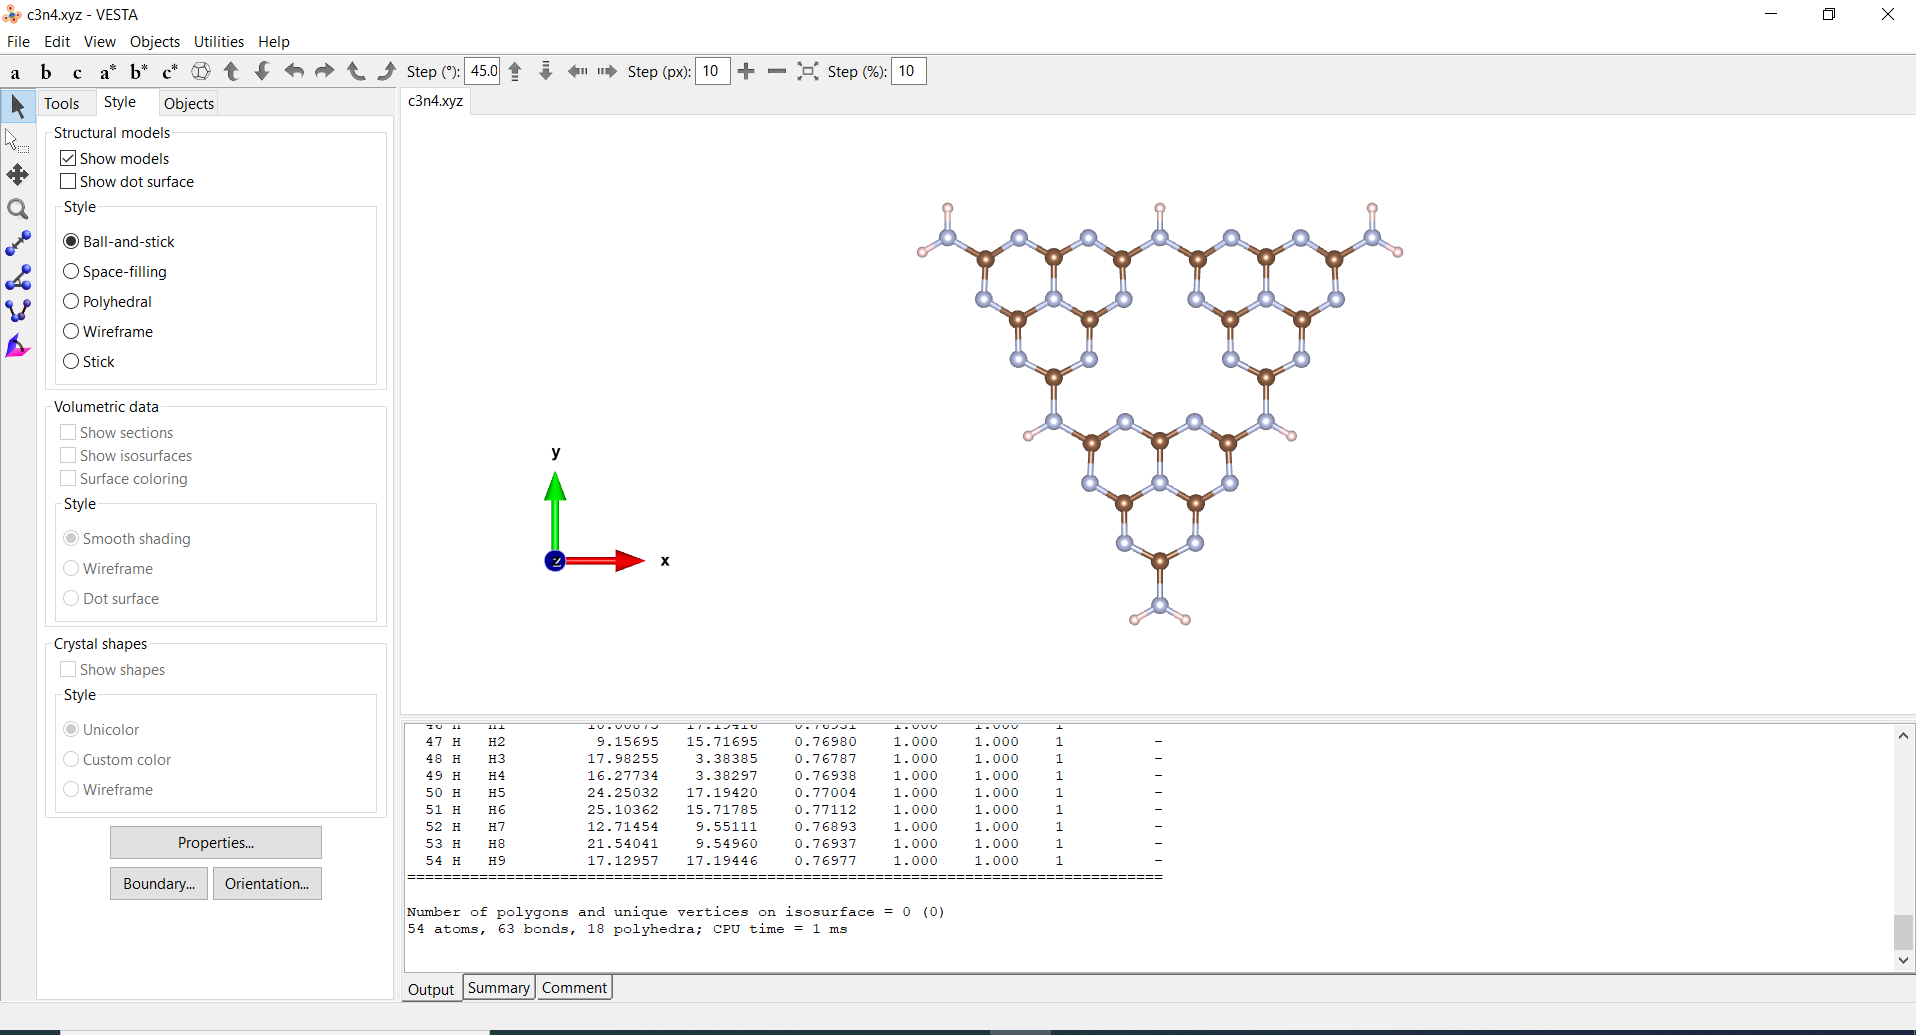 |
Tutorials by Brendan Smith |
| VMD | 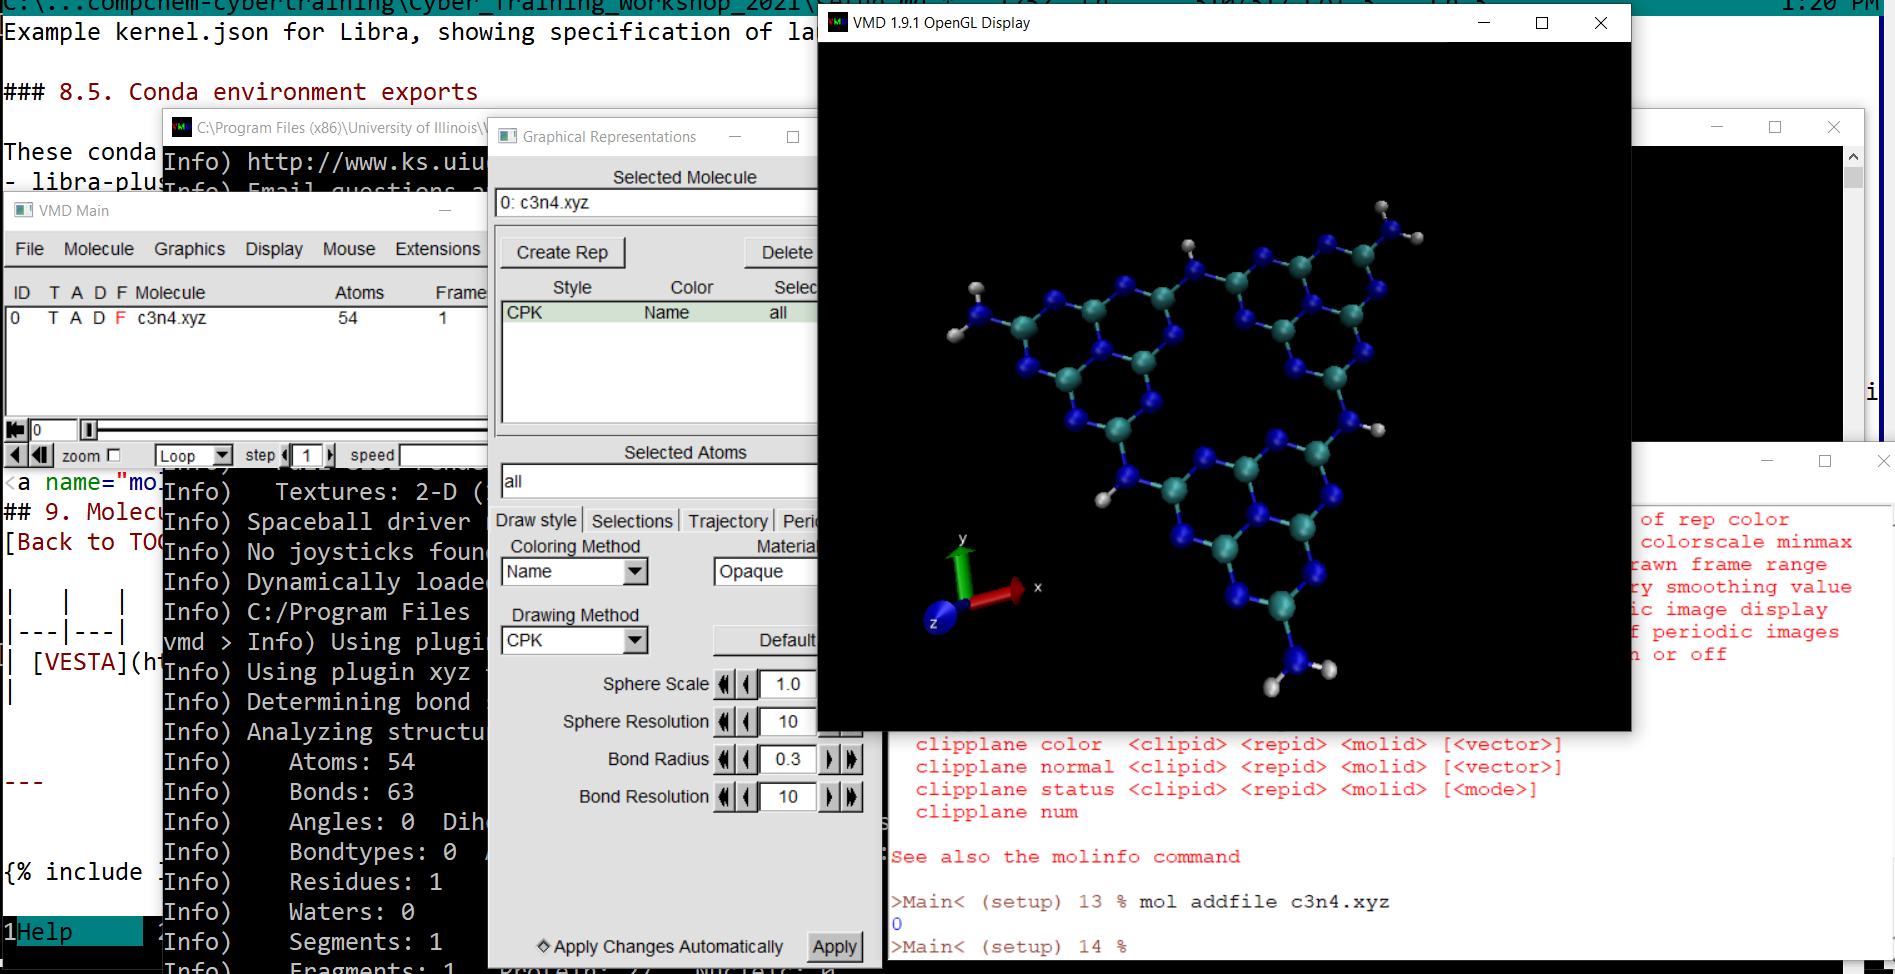 |
|
| IQmol | 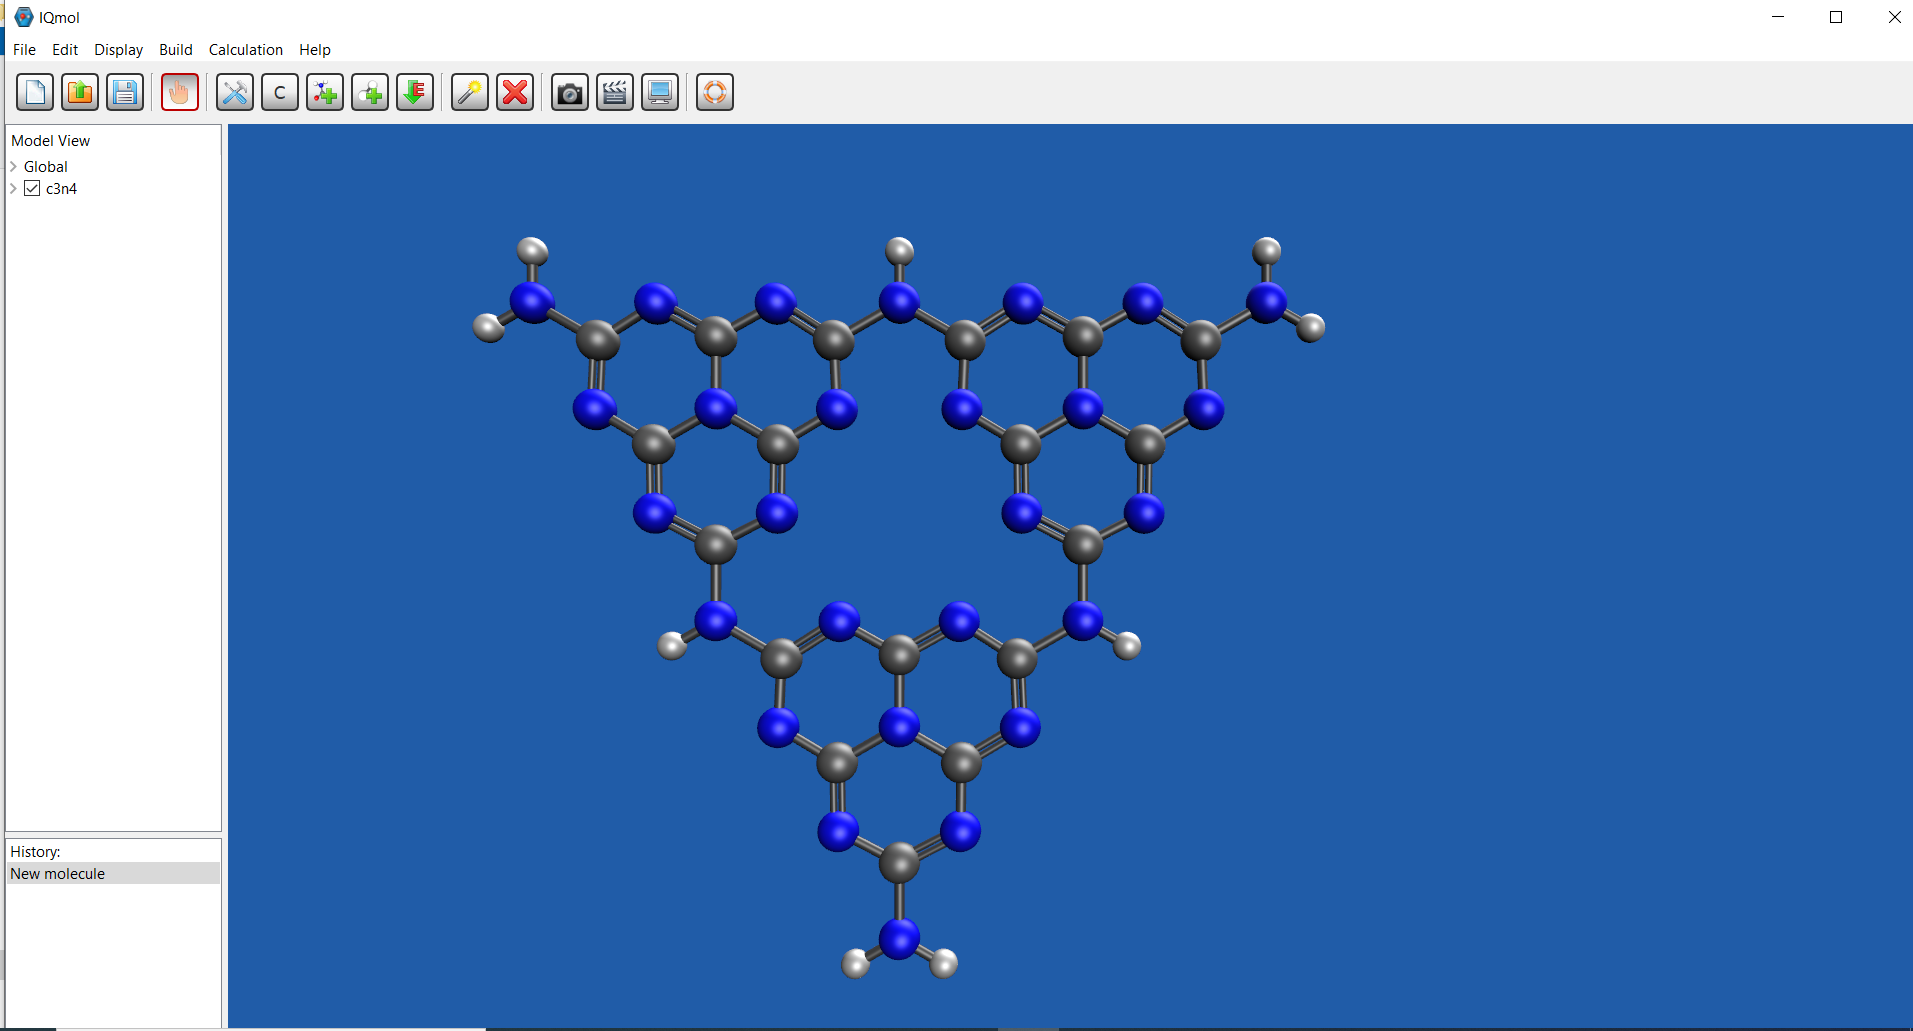 |
Tutorial by Alexey Akimov |
| Avogadro | 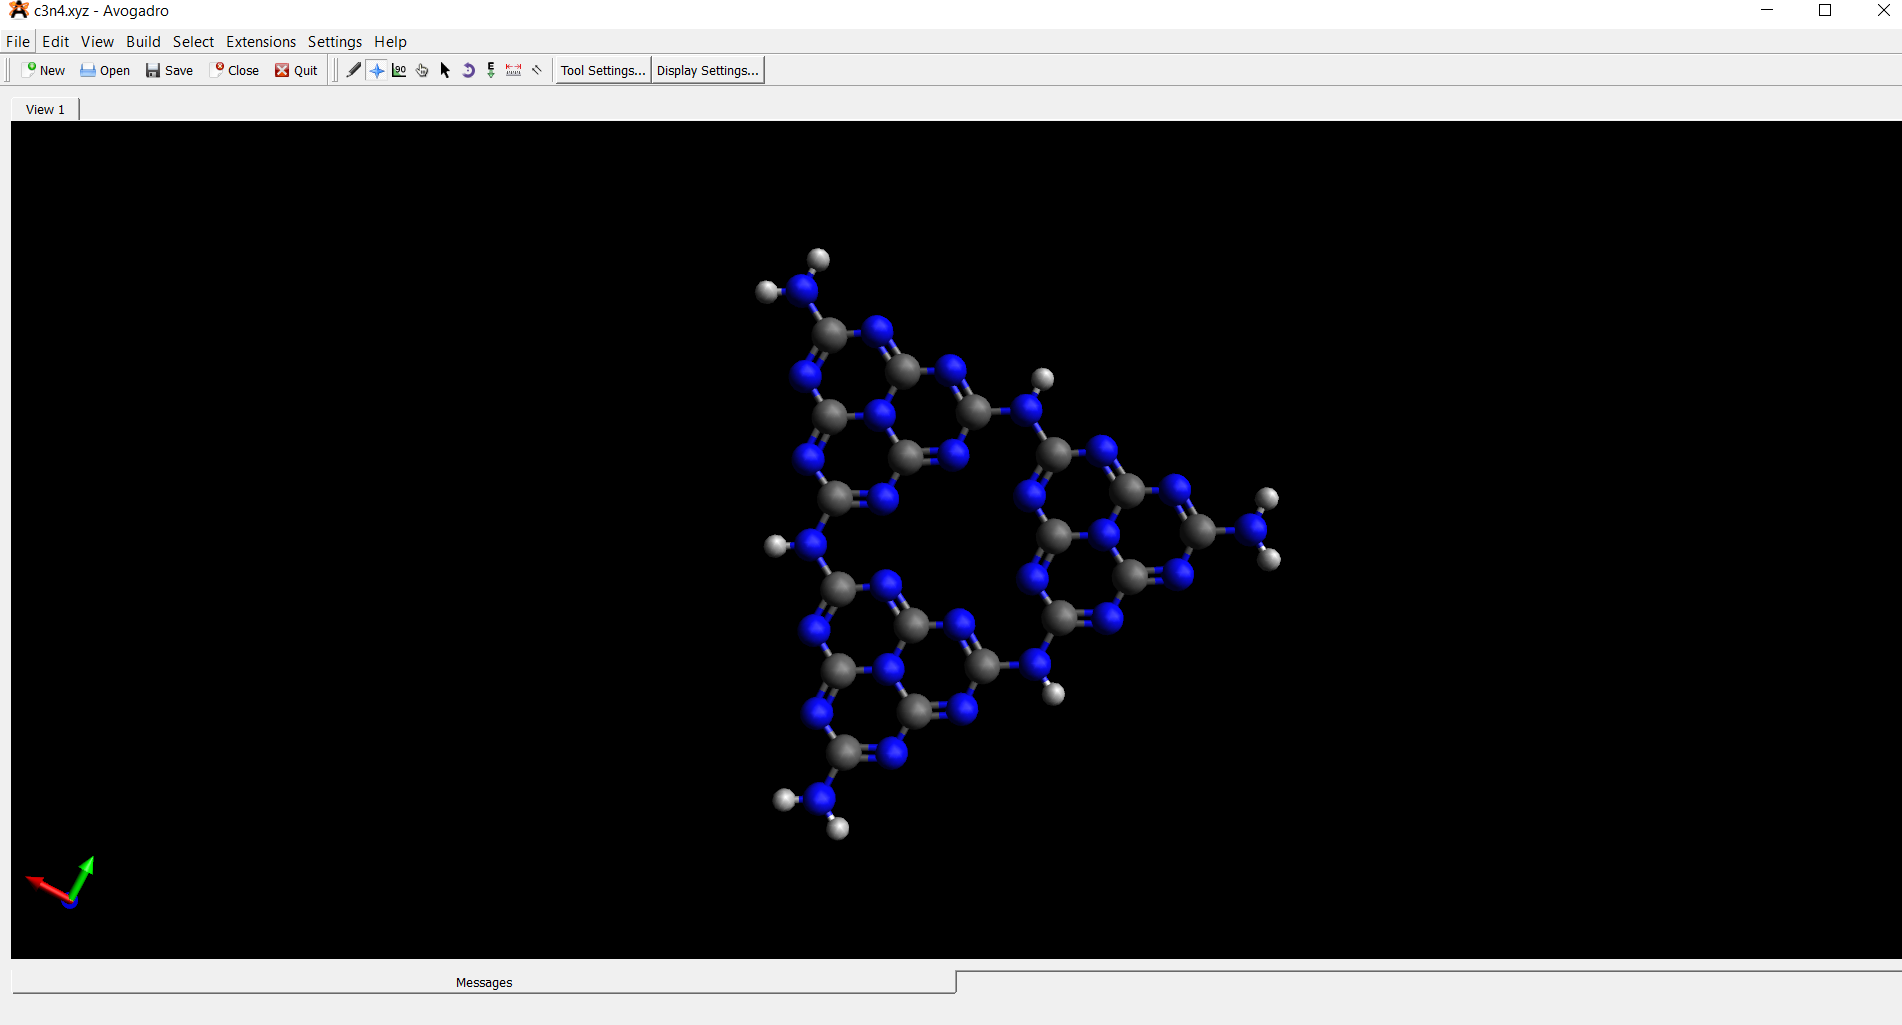 |